Best Laminator for Trading Cards
You don't need a fancy laminator — you need the right pouch thickness and a steady hand feeding it.
Lamination does more for proxy quality than almost any other step — it seals the ink so it won't smudge or transfer onto sleeves, and adds rigidity that plain cardstock alone doesn't have. The laminator itself is a one-time ~$20 purchase; 3 mil pouches are the sweet spot for thickness — durable without making the card too thick to sleeve comfortably next to real cards.
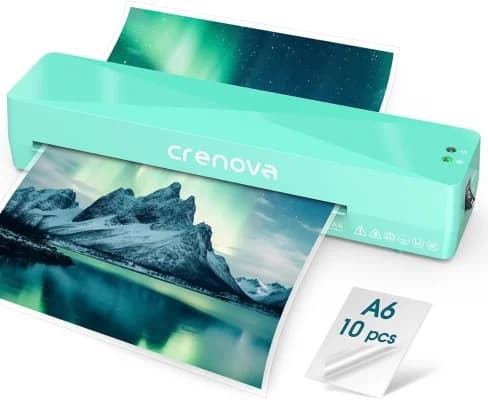
Crenova Thermal Laminator
Top PickAbout $19.99. There's no need to spend more — proxy lamination doesn't demand a commercial-grade machine, just consistent, even heat across a letter/A4-width pouch.
View on Amazon →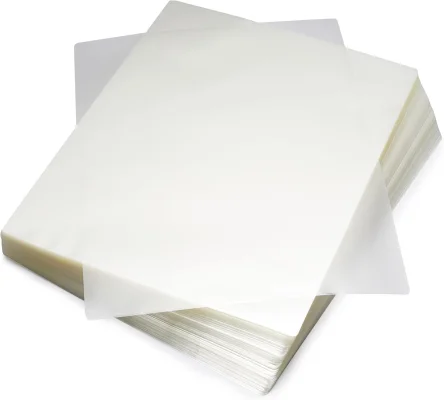
3 Mil Laminating Pouches (200 Pack)
Around $15.29 for 200 sheets — about $0.07 each. Thinner pouches (down to 1.5 mil) exist but feel noticeably flimsier; thicker ones (5 mil+) can make cards too stiff to sleeve well. 3 mil is the standard for a reason.
View on Amazon →Lamination Mistakes to Avoid
Feeding pouches in crooked — use the laminator's guide rails or a folded paper carrier if it has one.
Laminating before trimming excess paper — leave a small margin around your print sheet so the pouch fully seals at the edges.
Cutting too close to the card edge after lamination — leave a thin sealed border, then round the corners last.
Skipping a cooldown before cutting — laminate pouches are easiest to cut cleanly once they've cooled flat.
Free forever. No signup required to try.